
Securing Ubuntu server access with Tailscale
No. 22
We've started to add Ubuntu servers alongside our FreeBSD fleet, and deploying Linux servers has been a learning curve. We still love FreeBSD, but some software packages we need to use depend on Linux.
This article is about how to set up Tailscale on your Ubuntu server and then how to block all inbound traffic.
Next up: once your ports are closed, see Cloudflare Tunnels on Ubuntu to serve your applications to the internet without opening any of them back up.
Update, update, update
Regardless of your operating system, make sure it is fully up to date before proceeding with OS-level changes like the ones we're about to make.
sudo apt update && sudo apt upgrade
Install Tailscale
Tailscale has an installation script that works well on Ubuntu. You can download it from their website and run it on your server:
curl -fsSL https://tailscale.com/install.sh | sh
Tailscale tag setup
Before bringing up the server, define the tag we'll give it. We tag every server with tag:section-server. Tags let us write access control rules for our tailnet against a role ("our servers") instead of against individual machines or the people who set them up. When we add another server, we give it the same tag and the existing rules apply automatically.
Tailscale only lets a tag be applied if it is declared in your tailnet policy file. In the admin console, open Access controls and add the tag under tagOwners:
"tagOwners": {
	"tag:section-server": ["autogroup:admin"],
},
Bring up the server with the tag
Now authenticate against your Tailscale account and apply the tag by starting up the service for the first time.
sudo tailscale up --advertise-tags=tag:section-server
You should now see this server in your Tailscale dashboard, labeled with the tag:section-server tag.
Once a device is tagged, it is owned by the tag rather than by your user account. A newly authenticated tagged device does not have key expiry, which is exactly what we want for servers.
Example: deploying from GitHub Actions
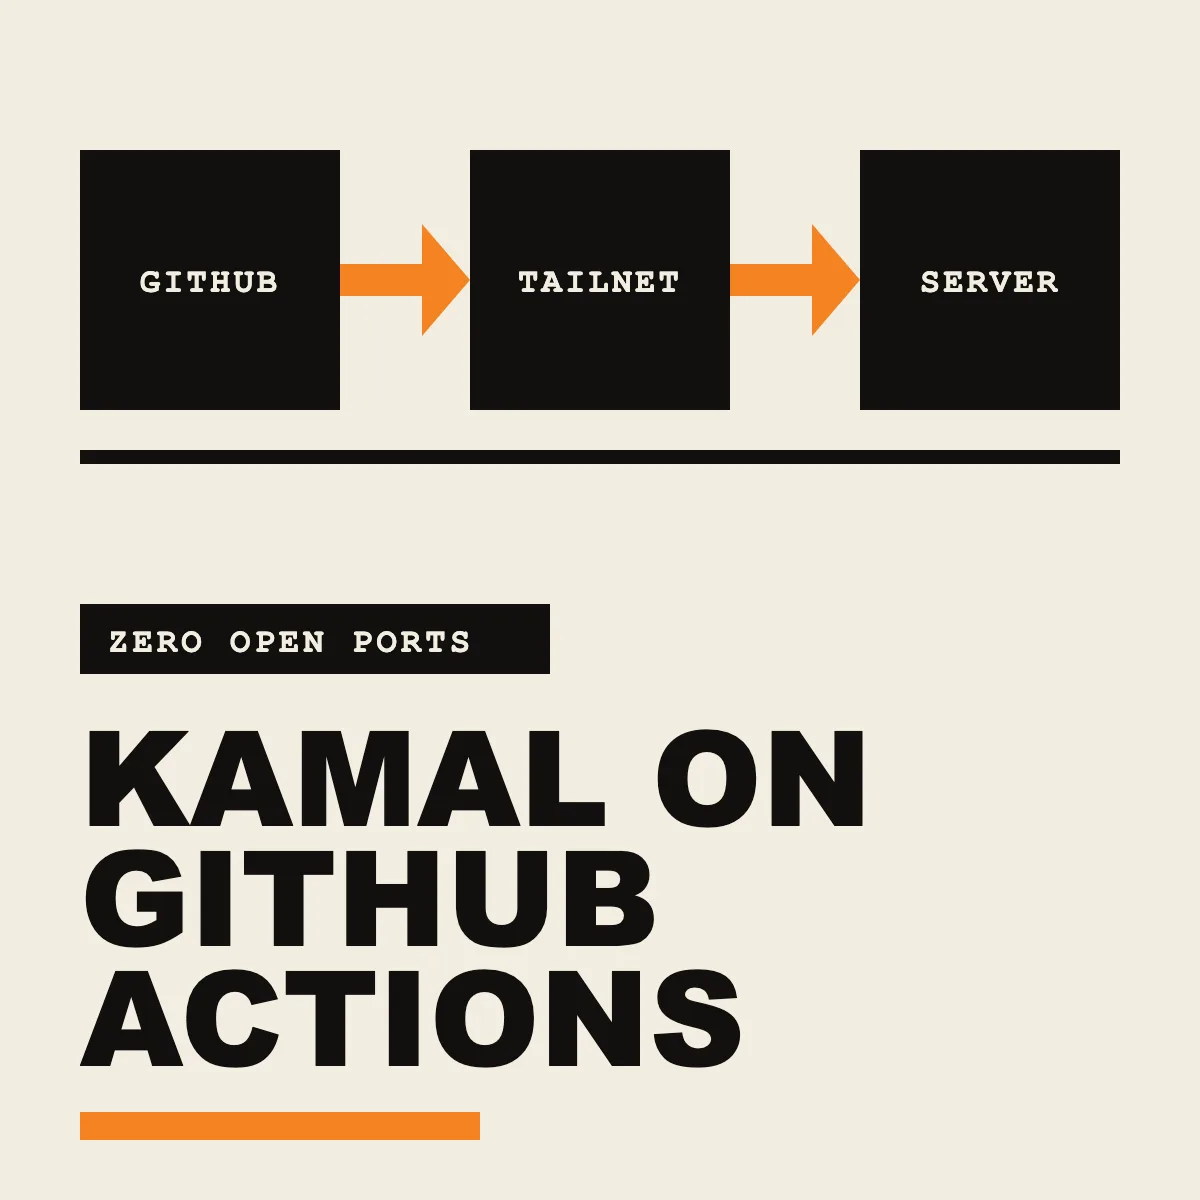
Tags pay off most in continuous deployment. A GitHub Actions job can join your tailnet as a tag of its own, reach only the servers carrying tag:section-server, and disappear when the job ends, with no SSH key stored anywhere. Our Deploying with Kamal from GitHub Actions article walks through the whole setup, including the policy rules, as a worked example.
Connect to the server via Tailscale
To connect to the server from another machine on your Tailscale network, find the server's Tailscale virtual IP address in your Tailscale admin console, then connect to that IP address using SSH.
For instance, if your Tailscale virtual IP address is 100.100.100.5 and your username on the server is ubuntu, then you'd connect as follows:
ssh [email protected]
I recommend a reboot at this point to confirm that Tailscale does indeed come online after a reboot.
Turn on Tailscale SSH
So far we've only used Tailscale as a network, and logged in with regular OpenSSH over it. For a CI job to log in without a stored SSH key, the server also has to answer SSH itself, through Tailscale, which means turning on Tailscale SSH. Tailscale then authenticates each login by the device's identity and your policy, instead of by a key.
IMPORTANT: Add
sshrules to your policy first. With Tailscale SSH on, a login with no matching rule is refused. Our Deploying with Kamal from GitHub Actions article has the rules we use.
sudo tailscale set --ssh
Tailscale SSH takes over port 22 on the tailnet right away, so the SSH session you ran this from will hang or drop. That's expected. Close it and reconnect in a new terminal before running the checks below.
Confirm it, and confirm the tag, which should read tag:section-server:
sudo tailscale debug prefs | jq .RunSSH
tailscale status --json | jq -r '.Self.Tags // [] | join(", ")'
The first command should print true. It must be Tailscale SSH, and not just OpenSSH reached over the tailnet. CI trusts only the host keys that Tailscale shares with it, and Tailscale shares a server's key only while Tailscale SSH is on.
Tip: If
sshwarns that the host key changed, that's expected. Tailscale SSH presents its own key. Runssh-keygen -R yourTailscaleIPto drop the old entry and connect again.
Turn off the regular SSH server
With Tailscale SSH on, tailscaled answers SSH logins on your tailnet itself, authenticated by your policy, so the regular OpenSSH server no longer has a job. Leaving it running only gives an attacker something to probe and a password setting to get wrong. Turn it off instead of hardening it.
First, prove that Tailscale SSH works. Open a second terminal on your computer and log in, without closing your existing session:
ssh ubuntu@yourTailscaleIP
If it fails, check that your policy has an ssh rule for you, and that sudo tailscale debug prefs | jq .RunSSH prints true. Don't go any further until it connects.
Then stop OpenSSH and keep it from ever starting again. On Ubuntu it is started by a socket as well as a service, so handle both:
sudo systemctl disable --now ssh.socket ssh.service
sudo systemctl mask ssh.socket ssh.service
Confirm it is off, and that nothing on the server is listening on port 22:
systemctl is-active ssh.socket ssh.service
sudo ss -tlnp | grep ':22 ' || echo "nothing listening on port 22"
Both services should report inactive.
Note: Tailscale SSH keeps working because it lives inside
tailscaled, not OpenSSH. If Tailscale ever stops letting you in, there is no other SSH route, so know where your hosting provider's web console is before you need it.
Closing ports
Now that we have Tailscale running as a service, we can disable all inbound ports. All? Yes, all. I highly recommend closing all inbound ports. Any services that your server provides should ideally be served through a Cloudflare Tunnel or something similar.
Set up the firewall to disallow incoming connections while still allowing the server to connect to other servers:
sudo apt install ufw
sudo ufw default deny incoming
sudo ufw default allow outgoing
sudo ufw allow in on tailscale0
Enable the firewall:
sudo ufw enable
Double-check for any existing inbound rules that we need to get rid of:
sudo ufw status numbered
Note: there should be two rules for tailscale0: one for IPv4 and one for IPv6.
These are needed to maintain access via Tailscale.To Action From
[ 1] Anywhere on tailscale0 ALLOW IN Anywhere
[ 2] Anywhere (v6) on tailscale0 ALLOW IN Anywhere (v6)
To delete any unwanted rules:
sudo ufw delete NUMBER
Finally, verify everything is as expected:
sudo ufw status verbose
Keeping Tailscale up to date
Updating Tailscale in the future is as simple as running:
sudo tailscale update
Conclusion
You're now all set with Tailscale on your Ubuntu server!
Cheers 🥂